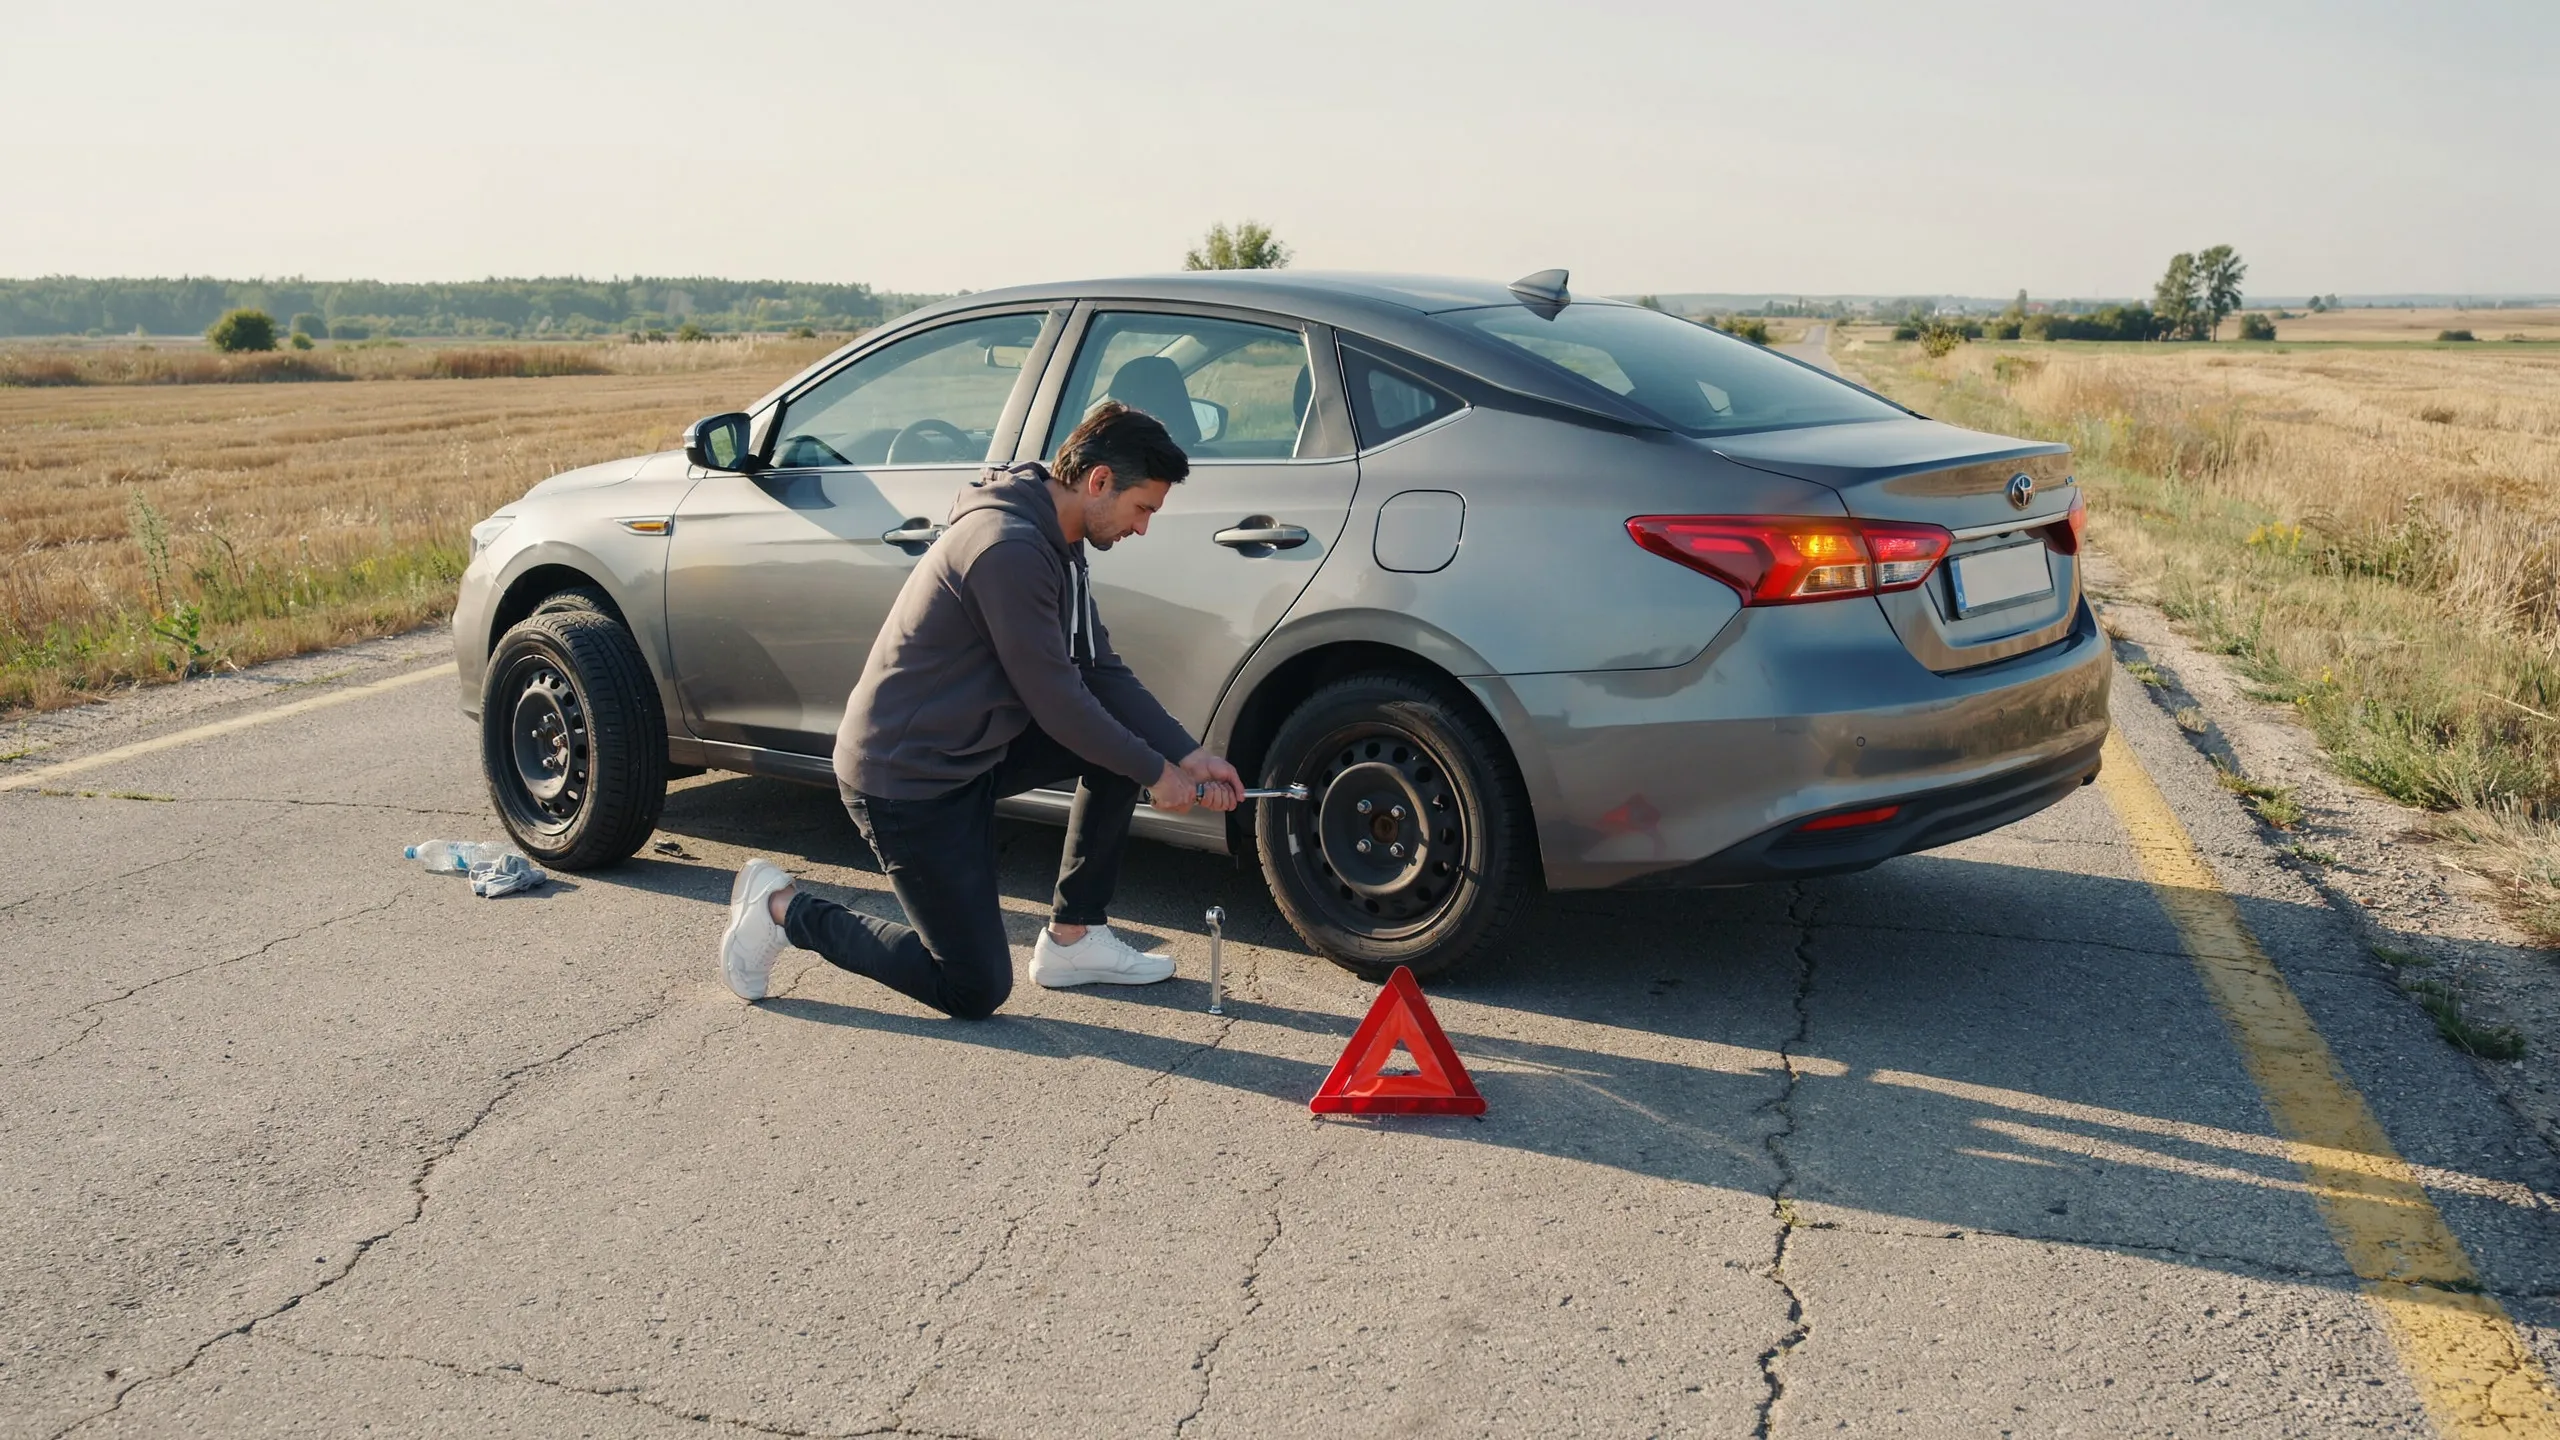
Most drivers have felt it — that stomach-dropping lurch when a flat tire yanks your focus from the road to pure survival mode. I remember being stranded on a highway shoulder once, my tools nowhere near handy, with a spare tire buried beneath everything in my trunk and no clear memory of where the car jack or lug wrench even lived. That experience reframed everything: the owner’s manual isn’t just paperwork, and driving without knowing your vehicle’s layout is a gamble you’ll eventually lose. Being caught unprepared in a dangerous situation turns what should be a 20-minute roadside fix into an hours-long ordeal.
What truly distinguishes a capable driver from a helpless one isn’t mechanical talent — it’s the habit of treating a tire change as a safety discipline before it ever becomes a crisis. The moment you must reduce speed, scan your surroundings, and find a safe spot, every prior decision you’ve made about readiness either pays off or costs you. From the last tire pressure check in your driveway to knowing how to re-enter traffic calmly, this process demands equal respect for conditions and tools. Those who prepare carry confidence to the roadside; those who don’t end up calling roadside assistance and hoping for the best.
Steps: How to change a tire?
Step 1: Park in a Safe Location
Most drivers react instinctively the moment they see a flat tire warning — but having changed dozens of tires over the years, I can tell you the most essential decision of any tire change happens before the car even fully stops: choosing where to pull off. Driving slowly toward a level surface — a side street, a wide shoulder, or a parking lot — transforms a potentially stressful roadside emergency into a manageable task. The area you choose matters as much as the action itself: an uphill or downhill incline introduces real rolling risk, and inattentive traffic makes any poorly chosen spot genuinely dangerous. Pulling off completely before stepping outside is not just important — it’s the one step that can save your time and far more than just money. Once you find a safe location with enough space to work, ensure you engage the parking brake to prevent movement, then turn on your hazard lights — those flashers draw attention and signal your place on the road. Choosing where to park safely creates the secure foundation every subsequent action builds on.
Step 2: Turn On Hazard Lights
There’s a counterintuitive truth seasoned roadside technicians know well: hazard lights matter more before you fully stop than after — reach for that button the instant your tires signal distress, not once the car has already settled on the shoulder. I’ve watched drivers lose precious seconds fumbling for the switch post-parking, by which point trailing vehicles were already dangerously close. On any busy day, the gap between sensing a flat and completing the pull off is precisely when caution is needed most, and those amber blinks generate a visible buffer for vehicles that continue to drive past at speed. Treating activation as your first physical action — ahead of hard braking or veering toward the shoulder area — converts a reactive scramble into a controlled, safe sequence. The simple truth is this: minutes, and even seconds, count when trailing traffic hasn’t yet slowed down.
Step 3: Gather Tools and Supplies
Every vehicle owner who has been stranded roadside without the right gear quickly learns that the time to gather your tools is long before a flat ever happens—real knowledge simply cannot be improvised at the side of a road in the dark. Beyond the factory-issued spare and the basic scissor jack tucked under the trunk floor, a truly prepared driver builds a kit that includes a portable hydraulic jack for reliable stability, a wheel wrench, a wrench for stubborn bolts, a flathead screwdriver, a pry bar, a socket extension, and a combination tool that handles various fastener sizes—each piece deliberately set to store in an organized, accessible safe place in the trunk. Chocks, wedges, and wheel wedges are three pieces of equipment that quietly double as safety measures, preventing vehicle roll the moment the jack is engaged; they’re almost always the first things left out of the kit. Toss in a tire pressure gauge and a compact air compressor—both inexpensive and long-lasting—so you can check whether the spare is properly inflated before you ever need it under pressure. A complete, routinely inspected setup is the mark of a genuinely equipped and confident driver—someone far less likely to end up calling a mechanic for what is, with the right tools and a bit of skill, a helpful fix you can manage entirely on your own.
Step 4: Apply the Parking Brake
There’s a reason seasoned mechanics engage the parking brake before anything else touches the car — it’s not habit, it’s physics. Even level ground carries a subtle slope that the eye can’t always detect, and a car parked on grass or dirt has far less surface resistance than one on solid pavement. For automatic vehicles, shifting into Park feels sufficient, but combining it with the emergency brake is what makes the setup genuinely firm. Manual drivers need to drop into first gear simultaneously; the drivetrain lock adds a layer that the hand brake alone won’t deliver on inclined terrain or curved roads. Wheel wedges pressed snugly against the tire diagonal to the flat provide the physical backup that brake systems can miss — the kind of oversight that leads directly to accidents. A car that cannot roll is a safe workspace; stability here is not optional, it’s what makes every step downward from this point possible without risk.
Step 5: Remove the Hubcap or Wheel Cover
Most drivers expect to remove the hubcap or wheel cover in seconds, yet this step surprises more people than it should — not every cover will slide off with a bare-hand pull. If yours sits tight, work the flat end of a lug wrench steadily around its edge and tap rather than grabbing something heavy like a hammer, which can dent the plastic or outright break the trim. On vehicles fitted with wheel locks, locate the lug key and its adapter first; without them, the lug nuts and bolts underneath simply aren’t accessible. Rest the cover backside-up beside the wheel once it’s free — it doubles as a practical tray for loose hardware — and when ready to replace it after the job, even pressure from both hands distributed around its circumference makes it refit cleanly without any fuss.
Step 6: Loosen the Lug Nuts
Before you ever attempt to lift the car, address the lug nuts while the wheel still rests on the ground — the surface friction works in your favor, giving the wrench something solid to push against. Grip the handle firmly and rotate each lug bolt counterclockwise, applying deliberate force in a sequence that moves evenly around the wheel nuts rather than jumping randomly. The goal here isn’t to remove them — just get them loosened enough to break that initial tightness, roughly half a turn per nut; push further and they’ll sit loosely by the time the wheel separates from the frame, creating real damage potential in an already stressful situation.
Step 7: Position the Jack and Raise the Car
Few people second-guess jack placement until something slips — and from experience, most post-lift drops trace directly to a misaligned contact point. The reinforcement slots are located along both sides of the underbody frame, and on loose or soft terrain, sliding a flat slab of wood under the base keeps the mechanism from sinking under vehicle weight. Confirm necessary contact with the frame, then work the rod in slow, deliberate turns until the wheels are lifted just enough for tire removal — two to three inches of clearance is genuinely all you need. Stay mindful that the vehicle should remain horizontal throughout; any lean concentrates pressure unevenly, and on a larger truck, even a foot of off-center alignment at the lift point can turn a quick roadside fix into a real safety risk.
Step 8: Remove the Lug Nuts and Flat Tire
With the car raised, the trick most seasoned changers rely on is setting an upturned hubcap on the pavement beside the tire — it collects every lug nut in one spot so none get lost in gravel or grass during the swap. Work each nut off fully by hand now, since they were only broken loose earlier, then grip the flat at opposite edges and draw it straight out toward you; set it aside flat and immediately bring in the replacement wheel so the open hub isn’t left exposed any longer than necessary.
Step 9: Mount the Spare Tire
Slide the spare onto the wheel studs, relying on the notch and rim alignment to confirm it’s seated squarely — rushing placement at this stage is a mistake that compounds under torque. With the tire flush against the chassis, begin turning each lug nut by hand using the righty-tighty principle, using your knee as support if the spare’s weight fights you. The wheel should feel stable and even while still raised off the ground; any wobble in position signals a misalignment worth correcting now. Work smoothly through each bolt in sequence, letting the clockwise hand-tightening build a solid foundation before tools ever enter the picture.
Step 10: Tighten the Lug Nuts
Getting the lug nuts properly snug before lowering the car is something most guides underemphasize, and it’s genuinely tricky to correct once the wheel is back on the ground. With the spare centered against the rim, its lining flush with the hub face, hand-thread each nut onto the wheel studs first — this prevents threaded fasteners from cross-threading — then work your wrench in a deliberate star pattern, moving diagonally so the wheel seats evenly and nothing drifts out of align under road pressure. The tightening sequence matters because a circular approach lets one side seat before the other, creating a slight tilt that allows a lug to fall loose at speed; I learned this after a spare wobbled on me at 60 mph, and now I always make a firm second diagonal pass before letting air load fully back onto the wheel.
Step 11: Lower the Vehicle
Reverse the rod-and-crank motion to gradually lower the jack, letting the vehicle’s full body weight settle onto the new wheel — a slow descent prevents the mounted tire from sitting crooked against the hub. Once grounded, keep the hand brake set and tighten every lug nut with a torque wrench, moving in a crisscross pattern between diagonally opposite positions to distribute elongation stress evenly across the wheel face.
Step 12: Replace Hubcap
People almost always underestimate this final step — and that’s exactly why so many hubcaps end up cracked or missing entirely after a roadside swap. The moment the lug nuts are tightened and the vehicle is safely lowered back to the ground, attention naturally drifts, but rushing through wheel cover reinstallation is a surefire way to hurt the surrounding paint with one careless shove. In my experience, the smartest move is placing the upturned hubcap flat on the ground right beside the wheel before you even start loosening anything — that one trick alone has saved me from searching for a piece that rolled off and got lost under a guardrail. To seat it properly, position it flush against the wheel, press firmly at the center until you feel and hear it pop into place, then confirm every clip is attached securely before pulling back onto the road.
Step 13: Put Away Tools and Check Tire Pressure
Once the vehicle is stable, the first job is quickly checking tire inflation pressure — don’t assume tires are ready just because the spare is mounted. Hold your pressure gauge to the valve, match it against the placard on your driver’s side door jamb, and confirm the spare is inflated to spec; compact spares typically sit at 60 — some as low as 55 — pounds of PSI and carry specific limitations, so low air calls for either your portable tire inflator or a professional. As a temporary fix, the donut spare demands respecting the directions around PSI, with safety precautions layered into your checklist before merging back into traffic; a monthly review going forward prevents this from catching you mid-drive. Now for cleanup: gloves, flathead screwdriver, flashlights, and the poncho — your cover in a storm — all go back into the kit efficiently, because being stuck partway through a future changing with missing tools is the kind of avoidable setback that experience teaches you once. Confirm the release valve is seated, store components horizontally, run one final tighten pass on stored hardware, then release back onto the road with everything accounted for.
Step 14: Take Flat Tire to a Professional
Most drivers treat a roadside tire switch as the end of the problem — it isn’t. Once you reach a dealer, a thorough inspection by a tire professional determines whether a patch repair is viable or full replacement is the actual call; a punctured tire showing tread compromise or sidewall damage has typically exhausted its lifespan, and no repaired fix holds reliably once the casing is gone. If you’re unsure what the damage qualifies as, seek help directly — a technician who can physically inspect the tire removes all guesswork. Seasonal tires add another layer here, since vehicle manufacturers caution that mixing a single full-sized substitute into an existing set can shift handling dynamics based on each tire’s condition, making a commitment to a permanent tire solution across all tires the smarter long-term outcome.
Reasons to Change a Tire
- The tread wear indicator strips embedded across the groove floor eliminate guesswork — once tread wear brings those bars flush with the surface, the tire is worn past safe functional limits and must come off immediately.
- A seasonal switch between summer tires and winter tires is a vehicle application requirement, not an upgrade; running the wrong compound in the wrong season — or vice versa — measurably degrades grip, cornering stability, and wet braking response.
- When you discover a puncture falling within the damaged belt zone or approaching the shoulder edge, no standard plug holds long-term — the only credible exchange is a full tire removal and replacement.
- Aging is the most underestimated trigger: tires past 10+ years of age harden at the compound level regardless of visible tread depth, making years in service — not mileage alone — the controlling retirement factor.
Check the Inflation Level of Your Spare Tire
Most drivers track the daily performance of their tires but entirely neglect the spare tires sitting in the trunk — until a puncture or sudden flat exposes a deflated, damaged backup that’s no longer fit for use. Knowing the key factors behind slow pressure loss — aging valve stems, seasonal temperature swings, and sitting untouched for years — separates a truly prepared driver from one left stranded roadside without options. The ideal PSI for a full-size spare tire is stamped directly on the sidewall, and the habit of checking it often — whether it lives in your garage or beneath the cargo floor — takes less than a minute with a basic gauge. When pressure runs low, a portable pump or a stop at the nearest gas station can inflate it back to the recommended level before you ever need it, keeping it a genuinely useful safety net when a temporary solution is all you have. A brief inspection of the valve stem and sidewall for tread wear confirms whether the spare can realistically cover the job; if unsure about anything you find, seek help from a tire professional rather than risk mounting a spare on air you haven’t properly verified.
Tire Labeling During Seasonal Switches
Most seasoned drivers doing a seasonal switch between summer tires and winter tires have learned the hard way that four unmarked seasonal tires stacked in a garage corner become an unsolvable puzzle come springtime. Labeling each one immediately at exchange — noting the vehicle application position like front-left or rear-right — takes thirty seconds and prevents disrupted wear patterns from quietly compromising your tread wear indicator readings when you inspect them next cycle. I always write the current mileage directly on the sidewall before storage, because when you pull the regular tires back out months later, having a documented baseline makes the difference between confidently reusing a tire and second-guessing its age against a potential replacement. The logic applies vice versa too: that full-sized set sitting dormant all winter deserves a label noting if anything was repaired mid-season, since that history directly informs whether you’re facing a permanent tire retirement the next time a switch comes around.
Spare Tires 101
Most drivers spend years owning a vehicle without opening the trunk to inspect what spare tire is actually back there — that knowledge gap quietly lives in the background until an unexpected flat interrupted a journey and turned an otherwise ordinary day into a stressful jam, often at an unsafe location with no signal to call roadside assistance and no friend or relative answering their phone, especially when the battery goes dead. Luckily, the knowledge that empowers anybody to handle this with real confidence is not complicated; it just requires familiarizing yourself with the fundamentals before you need them — a short investment that’s genuinely easy to make without ever needing to rely on the internet mid-breakdown. The first practical distinction is the choice between a full-size spare and a donut: the compact donut is smaller, built to weigh significantly less, and is by far the most popular option in modern vehicles for space-saving reasons — yet serious safety issues develop the moment it’s mistaken for a permanent replacement and driven fast or pushed far past the limits it was designed for.
That’s exactly where the 50-50 rule becomes non-negotiable: maintain distance under 50 miles and maximum speed at or below 50 miles per hour, because once you exceed the mileage restriction or push beyond the speed guidelines, you’ve entered territory the manufacturer clearly advised against — the spare is subject to real structural failure if those thresholds are ignored. Building the potential to transform that anxiety into muscle memory means committing to practice: spend time in your driveway or another safe space with enough room to work through actual tire changes, because tow trucks in smaller towns and larger cities won’t always reach you quickly, and the ability to learn this process and walk through it calmly — mounting the spare with steady hands rather than scrambling — is what separates prepared drivers from stranded ones.
Safety Tips for Changing Tires
- Never Pull Over Near a Blind Spot or Curve
Don’t switch lanes abruptly the moment a flat strikes — coast intentionally to a place that sits well off the road and clear of any blind spot or curve; a parking lot entrance or a wide shoulder is worth the extra hundred yards. - Neutralize the Vehicle Completely Before Starting
Kill the engine, lock an automatic in Park or shift a manual into first gear — reverse works on downhill grades — then wedge bricks, rocks, stones, or logs as appropriate alternatives to chocks and block the wheels before touching the transmission or engaging any gear. - Always Pry the Hubcap Off Before Anything Else
Use a flat tool to pry the wheel cover loose first; only once it’s free should you begin to unscrew the lug nuts — skipping this sequence risks warping the cover and adds unnecessary friction to an already tense situation. - Loosen Every Lug Nut While the Tire Is Still Grounded
Work each nut counterclockwise — lefty-loosey, no exceptions — with the tire still flat on the road; once the car is raised, the wheel spins freely, and anything left screwed down tight, especially wheel locks, becomes far harder to loosen. - Use the Correct Jack Points and Raise Only Six Inches
Consult your owner’s manual to locate the exact jack points, then raise the vehicle no more than six inches (6 inches) off the ground — exceeding that height dramatically increases the chance of damaging the frame and does nothing to minimize the risk if the jack shifts. - Label Every Tire Before Switching Out a Full Set
Keep chalk in the trunk and label each position — LF for left front, RF for right front — before switching a complete set so you can track placement history and maintain equal wear distribution across every future tire rotation. - Take Any Punctured Tire to a Dealer Without Exception
A punctured tire may carry 10+ internal issues no roadside swap resolves — this article covers emergency procedures, but any style of field fix has hard limits, and a dealer or certified shop repair is the only way to confirm the tire is genuinely safe to return to service.
FAQs
How often should I check the condition of my spare tire?
Most drivers forget the spare exists until they actually need it — and that’s exactly when they find out it’s flat. From experience, checking your spare every time you rotate your tires (roughly every 5,000–7,500 miles) is the most practical habit to build. At minimum, do it twice a year. Pull it out, check the pressure (most compact spares need around 60 PSI), and look for cracks, dry rot, or uneven wear. A spare that’s been sitting in a trunk for years isn’t automatically fine — rubber degrades even without use.
Does roadside assistance usually cover tire changes?
Yes, in most cases roadside assistance does cover spare tire changes — but with a catch. They’ll mount the spare you already have; they won’t supply a new tire on the spot. If your spare is flat, missing, or too damaged to use, the service typically shifts to a tow instead. Coverage details vary between providers like AAA, your auto insurance add-on, or manufacturer programs, so it’s worth reading the fine print before you’re stuck on the shoulder at midnight figuring it out under stress.
What should I do if I discover my spare tire is also flat or damaged?
Finding out both your tire and spare are out of commission at the same time is genuinely frustrating, but it happens more than people expect. Don’t attempt to drive on a flat — even a short distance can destroy the rim. Call roadside assistance for a tow to the nearest tire shop, or use a can of tire inflator/sealant (like Slime or Fix-a-Flat) as a very temporary measure to limp off a dangerous road. Going forward, keeping a portable air compressor in your trunk solves the “low spare” problem before it becomes a crisis.
How do I know when to replace my tires?
The penny test is a good starting point — insert a penny into the tread groove with Lincoln’s head facing down; if you can see the top of his head, the tread is below 2/32″ and the tire needs replacing. That said, tread depth isn’t the only signal. Sidewall cracks, persistent vibration at highway speeds, bulges, or any tire that’s over 6 years old regardless of appearance are all legitimate reasons to replace. Age matters because rubber compounds break down internally even when a tire looks fine from the outside.
What should I do if I get a flat tire in an unsafe location?
Safety always comes before the tire. If you’re on a narrow shoulder, a busy highway, or somewhere with poor visibility, don’t get out of the car to change it. Turn on your hazard lights immediately, and if you can safely roll forward to a parking lot, side street, or wider shoulder — even on the flat — do it. Yes, you may damage the rim, but that’s a far cheaper fix than a roadside accident. Once stopped somewhere safer, place reflective triangles or road flares behind the vehicle before doing anything else.
What’s the difference between a spare tire and a donut?
A full-size spare is exactly what it sounds like — a complete tire that matches the size and load rating of your regular tires, so you can drive on it normally until you sort out a replacement. A donut (officially called a compact temporary spare) is the smaller, narrower spare that comes with most modern vehicles. It’s designed purely to get you to a tire shop — not for extended driving. Donuts are lighter and take up less trunk space, but they have strict speed and distance limits that a full-size spare doesn’t carry.
How long can you drive on a spare tire?
If it’s a compact donut spare, the general rule is no more than 50–70 miles. Manufacturers design them as a short-term bridge, not a long-term solution — the construction simply isn’t built for sustained use. Full-size spares give you more flexibility, but even those shouldn’t be treated as permanent fixes since they often lack the same tread wear as your other three tires. Get to a shop as soon as it’s practical. The longer you put it off, the more you risk uneven handling and additional wear on your drivetrain.
How fast can you drive on a spare tire?
With a compact donut, keep it at or under 50 mph — that limit is printed right on the tire sidewall for a reason. The thinner build and lighter construction simply can’t manage heat and stress the way a full-size tire can at higher speeds. On a full-size spare, you can typically drive at normal speeds, but it’s still smart to stay aware of any handling differences and avoid aggressive driving until you have a proper replacement. Treating a spare like a regular tire is how minor flat-tire situations turn into blown spares on the highway.
Conclusion:
Knowing how to change a tire is an essential roadside skill that every driver should master before hitting the open road. Whether you’re dealing with a sudden flat tire on a highway or a slow leak in a parking lot, following the correct steps — loosening the lug nuts, positioning the floor jack safely, mounting the spare tire, and tightening everything in a star pattern — ensures you get back on the road quickly and safely. Keeping your vehicle equipped with a properly inflated spare tire, a reliable jack, and a lug wrench can turn a stressful roadside emergency into a manageable situation in under 30 minutes. With a little practice and preparation, tire changing becomes second nature — giving you the confidence to handle unexpected blowouts without waiting for roadside assistance. So next time you hear that dreaded thud, you’ll know exactly what to do.
About the Author
Abdul Rehman
Abdul Rehman is an automotive enthusiast and experienced driver with over a decade of hands-on vehicle maintenance experience. He created HowToChangeTire.com to help everyday drivers handle flat tire emergencies safely and confidently without waiting for roadside assistance.